Keeping your travel trailer’s roof in good shape is key for safe and fun trips. If you’re facing a small leak or big damage, fixing it yourself can save money and time. This guide will show you how to repair your RV’s roof step by step.
You’ll learn how to spot roof damage and apply sealants and coatings. By the end, you’ll know how to fix your travel trailer roof on your own. This way, your RV will stay safe and dry on all your adventures.
Identifying the Need for Travel Trailer Roof Repair
Before starting any roof repair on your travel trailer, it’s key to spot potential issues. Inspect the roof for leaks or water damage to see how bad it is. This helps you plan the right repair steps.
Signs of Roof Damage
Look over your travel trailer’s roof for signs of damage. Check for cracks, holes, or where the sealant is worn out. These can let water in, causing more damage and leaks.
Focus on the seams and edges of the roof too. These spots often have problems.
Checking for Leaks and Water Damage
Water damage is a big worry for travel trailer owners. It can cause mold, rot, and structural problems if not fixed. To find leaks, look inside your trailer for moisture or water stains.
Check for discoloration on walls, ceilings, or cabinets. This could mean a leak. You can also test the roof with a hose to see if water comes in.
If you think there’s water damage, fix it quickly. Ignoring leaks can make things worse and cost more later. Checking your roof’s condition is key to keeping your trailer in good shape.
Preparing for the Travel Trailer Roof Repair
Before starting the repair, make sure you have the right materials and tools. Having everything you need will make the repair go smoothly. This ensures you can fix your travel trailer’s roof effectively.
Gathering the Necessary Materials and Tools
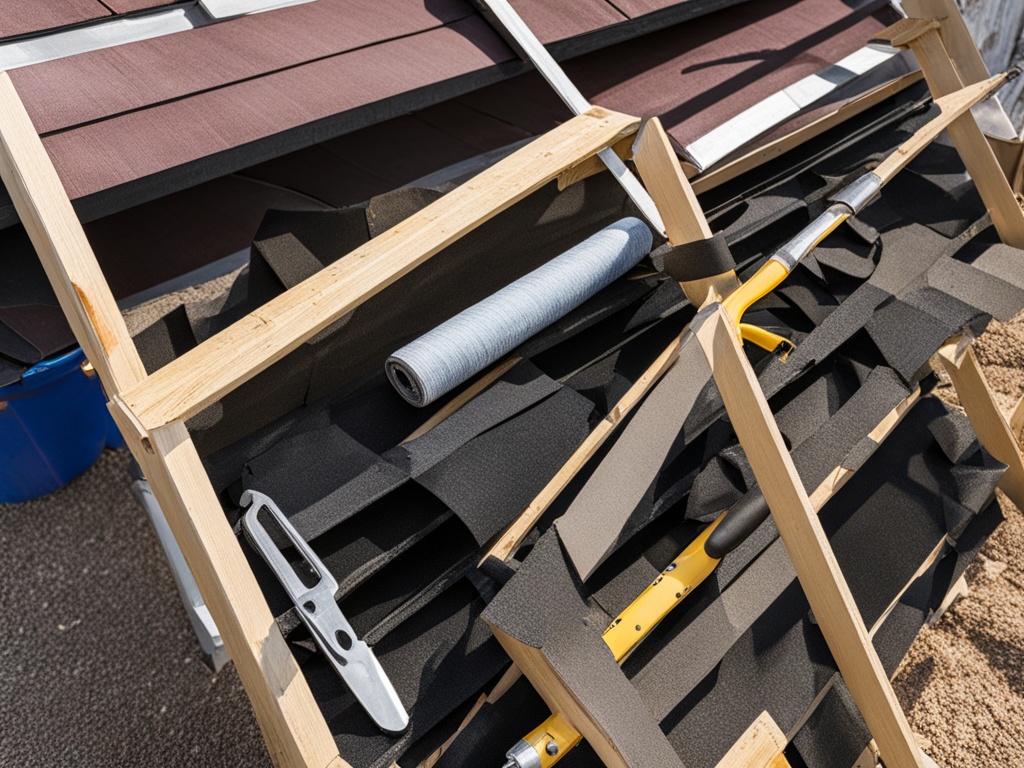
For the roof repair, gather a complete toolkit. You’ll need roof sealant, repair tape, a caulk gun, and other items for RV roof repair. Having all the tools for rv roof repair lets you finish the job well and get a lasting fix.
- Roof Repair Kit – This kit has sealants, patches, and materials for common roof problems.
- Roof Sealant – Use high-quality sealants made for RV roofs to seal and prevent leaks.
- Roof Tape – Roof tape helps fix cracks, tears, or damage on the roof.
- Caulk Gun – A caulk gun is key for applying roof sealant precisely and effectively.
- Cleaning Supplies – You’ll need cleaning tools like a brush, rags, and a safe roof cleaner to prepare the area.
Take the time to collect all the materials for rv roof repair and tools for rv roof repair. This way, you’ll be ready to fix your travel trailer’s roof with confidence and get a lasting result.

| Item | Description | Quantity |
|---|---|---|
| Roof Repair Kit | Comprehensive kit with sealants, patches, and other materials | 1 |
| Roof Sealant | High-quality sealant designed for RV roofs | 1 |
| Roof Tape | Specialized tape for patching and sealing roof damage | 1 roll |
| Caulk Gun | Tool for precision application of roof sealant | 1 |
| Cleaning Supplies | Scrub brush, rags, and roof-safe cleaning solution | 1 set |
Cleaning the Roof Surface
Getting your travel trailer roof ready is crucial for any repair. You must clean the roof and remove old sealant or debris first. This ensures the repair materials stick well and seal properly.
Here’s how to clean your travel trailer’s roof:
- Begin by sweeping the roof to get rid of loose dirt, leaves, or debris. Use a soft-bristled brush to gently scrub and remove stuck-on particles.
- Look for old sealant or caulk that needs removal. Use a plastic scraper or putty knife to carefully remove it without harming the roof.
- After removing debris, use a cleaning solution made for cleaning RV roof materials. Stay away from harsh chemicals that could damage the roof.
- Apply the cleaning solution with a soft-bristled brush or a clean cloth. Work in small sections for even coverage. Gently scrub to remove dirt or contaminants.
- Rinse the roof with clean water to get rid of the cleaning solution. Make sure to clean all crevices or seams well.
- Let the roof dry completely before doing any repairs or maintenance. This ensures the best adhesion and sealing of materials.
By following these steps, you’ll have a clean, ready roof surface for your repair project.
| Cleaning Roof Materials | Recommended Cleaning Methods |
|---|---|
| EPDM (Ethylene Propylene Diene Monomer) | Use a mild soap and water solution, avoid harsh chemicals |
| TPO (Thermoplastic Polyolefin) | Use a specialized TPO cleaner or a mild soap and water solution |
| Fiberglass | Use a mild abrasive cleaner to remove oxidation, then rinse thoroughly |
How to Fix a Travel Trailer Roof
Fixing a travel trailer roof is easier than you think. With the right materials and steps, you can do it yourself. This guide will show you how to repair an RV roof and keep it safe for a long time.
Start by applying a roof patch to the damaged spot. Clean the area well, getting rid of dirt, debris, or old sealant. Then, put on a quality roof repair tape over the damage for a tight seal.
- Clean the roof well to remove dirt, debris, or old sealant.
- Put the roof repair tape over the damaged area, making sure it fits right.
- Press the tape down with a roller or your hands to make a strong bond.
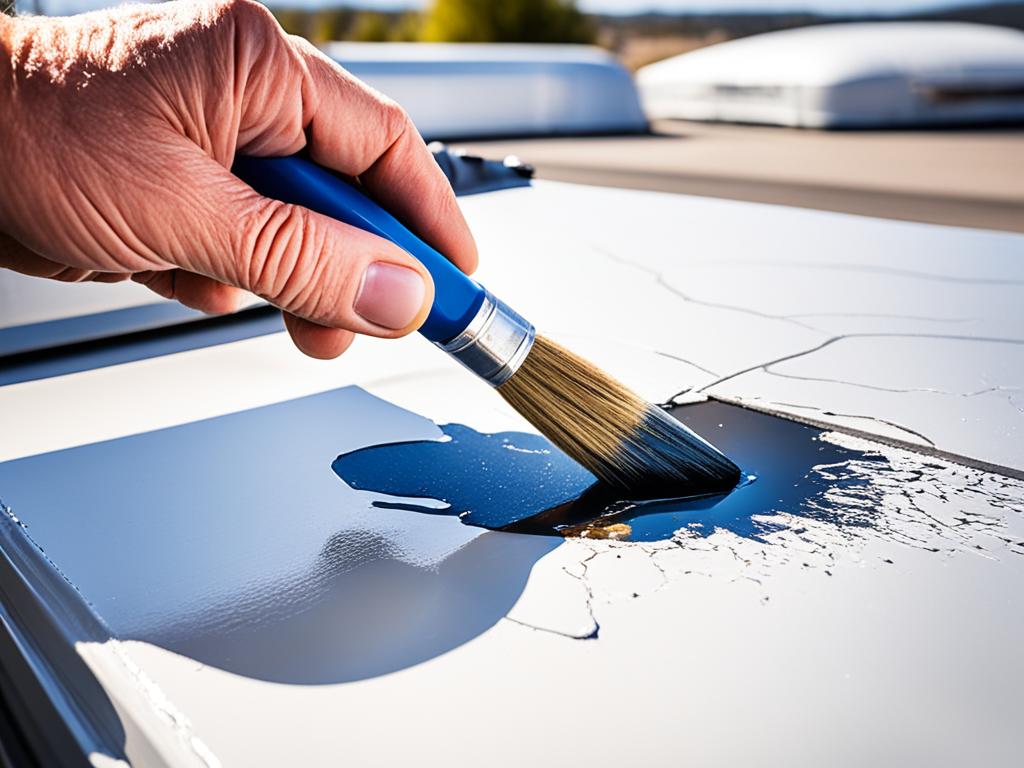
Next, seal the repair area with a self-leveling lap sealant. This will make a waterproof barrier to protect your roof. Spread the sealant over the tape and around it for full coverage.
| Step | Action |
|---|---|
| 1 | Clean the roof surface |
| 2 | Apply roof repair tape |
| 3 | Seal the repair area with sealant |
These easy steps will help you repair an RV roof and stop leaks. Regular RV roof maintenance is important for keeping your trailer safe and dry.

Tip for Successful RV Roof Repair
Take your time when applying sealant. Make sure it’s spread evenly and there are no air bubbles or gaps for the best look and protection.
Preventive Maintenance for Travel Trailer Roofs
Keeping your travel trailer’s roof in good shape is key to its longevity and avoiding expensive repairs. Regular rv roof maintenance helps extend your RV’s roof life. By following simple steps, you can keep your trailer’s roof in great shape and dodge unexpected repair costs.
Start with regular roof inspections. Experts suggest checking your RV’s roof twice a year, in spring and fall. Look for cracks, peeling, or wear in the sealant and coatings. Fixing these problems early can stop water damage and save you money.
If you find your roof needs a roof reseal, don’t wait. Resealing your RV’s roof is vital for its protection. Use a top-quality sealant made for RV roofs to keep water out and protect against the weather.
Also, consider using roof coatings for extra protection. These coatings protect your roof from UV rays that can break down materials. Applying a roof coating every few years can make your RV’s roof last longer.
With consistent care for your travel trailer’s roof, you can keep your investment safe for many years. Regular checks, timely resealing, and protective coatings are key to keeping your RV’s roof strong and dry.
Conclusion
In this guide, you’ve learned how to fix a travel trailer roof on your own. You now know how to spot problems, get the right materials, and repair it. This way, you can save money and keep your RV’s roof in great shape.
Regular preventive maintenance is crucial for a long-lasting roof. It helps protect your travel trailer’s roof for many years.
Fixing the roof yourself has many benefits. You’ll get hands-on experience and feel proud of your work. You’ll also be ready to fix any future roof problems, saving time and money.
This guide has given you all you need to know about fixing an RV roof yourself. With these tips, your RV’s roof will stay in excellent condition. This will make your camping and travel better.


