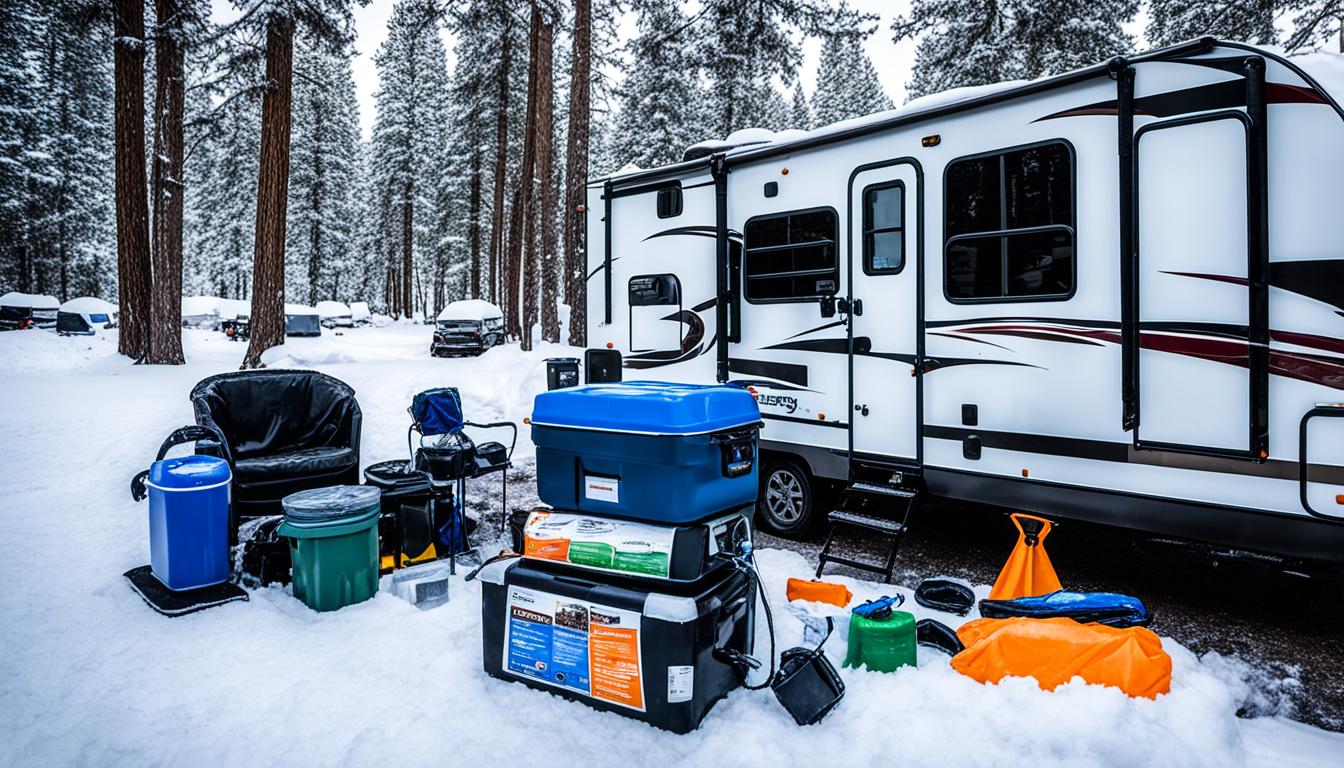
Winterizing your travel trailer is key to keeping it safe from harsh winter weather. It also makes sure it’s ready for your next trip when the weather gets warm again. This guide will show you the simple and important steps to winterize your travel trailer. You’ll learn how to drain the water system, bypass the water heater, blow out water lines, add antifreeze, and protect the batteries and exterior. These steps help avoid expensive repairs and keep your RV in great shape for the next camping season.
If you own an RV or are new to travel trailers, learning how to winterize is crucial. This guide covers everything from draining the fresh water tank to insulating the pipes. With our easy-to-follow instructions, you’ll feel confident in winterizing your camper. This way, your travel trailer will be ready for its winter sleep.
What Is Winterizing a Travel Trailer?
Winterizing a travel trailer gets your RV ready for the cold months. It involves steps to protect your vehicle’s plumbing and systems from freezing. This way, you avoid issues like burst pipes and water damage.
The Importance of Winterizing Your RV
It’s key to winterize your travel trailer to keep it in good shape and ready for spring. Not doing so can cause big problems, from small annoyances to big, costly repairs. By winterizing your RV, you ensure a smooth start to your camping season.
Consequences of Not Winterizing
Not winterizing your RV can lead to big problems. Frozen water lines might burst, causing damage inside your trailer. Also, parts like the water heater and sinks can get damaged by the cold. Not insulating your trailer for winter can harm your RV’s electrical system and batteries too.
To keep your trailer in top shape, follow the right rv winter storage tips. This means draining the water system, adding rv antifreeze, and protecting parts from the cold. These steps help keep your RV safe and ready for more adventures.
Preparing to Winterize Your Travel Trailer
Before you start winterizing your travel trailer, make sure you have all the tools and supplies ready. This step is key to keeping your RV safe from winter’s harsh conditions. Here’s what you’ll need for a successful RV winterization.
Tools and Supplies Needed
You’ll need a few gallons of non-toxic RV antifreeze, a water pump conversion kit or tubing, a bucket, and hand tools. Also, don’t forget a cleaning wand to flush the black water tank. These tools are crucial for protecting your travel trailer all winter.
- RV antifreeze – Several gallons of non-toxic antifreeze to protect the water system from freezing
- Water pump conversion kit or tubing – Allows you to pump antifreeze through the water lines
- Bucket – For catching and disposing of water during the draining process
- Hand tools – To remove drain plugs and access various components of the water system
- Cleaning wand – Helps flush the black water tank before winterizing
With these important items ready, you’re set to winterize your travel trailer. This ensures it stays safe and in good condition all winter. Remember, a bit of preparation can make a big difference in keeping your RV in top shape.

Draining the Water System
Getting your travel trailer ready for winter means draining the water system. This step removes any leftover water to avoid damage from freezing. Let’s go through the steps to drain your travel trailer’s water system right.
Draining the Fresh Water Tank
Start by finding the fresh water tank and opening its drain valve. Let the tank empty completely to make sure there’s no water left. This is key for winterizing rv plumbing and keeping your travel trailer’s water system safe in the cold.
Draining the Low-Point Drains
Then, look for the low-point drains on your travel trailer. These are at the lowest points in the water lines. Open these drains and let them drain fully to make sure how to winterize travel trailer is done right.
Draining the Water Heater
Finally, drain the water heater. Turn off the power or gas, let it cool, and then remove the drain plug or anode rod. This lets out any leftover draining rv water system, finishing the winterization process.
Draining the fresh water tank, low-point drains, and water heater makes sure your travel trailer’s water system is winter-ready. This important step prevents damage and keeps your RV in top shape for the next trip.
Bypassing the Water Heater
When winterizing your travel trailer, it’s key to bypass the water heater to avoid filling it with antifreeze. Many RVs have a built-in bypass for this. But, if yours doesn’t, you’ll need to add one. This means finding the water heater, getting to the valves, and setting them to send antifreeze past the water heater.
To bypass the water heater, follow these steps:
- Find where the water heater is in your travel trailer. It’s often under the RV or in a special spot.
- Look for the valves that manage the water flow to and from the water heater. They’re usually marked “bypass” or “water heater”.
- Switch the valves to the “bypass” setting. This sends the antifreeze around the water heater.
- If your RV doesn’t have a built-in bypass, you can get a bypass kit. These kits are easy to find at RV supply stores and simple to put in.
Bypassing the water heater makes sure the antifreeze doesn’t fill the water heater. This can be hard and costly to fix in the spring. By doing this, you’ll save time and money when you take out the travel trailer in the spring.
| Step | Action |
|---|---|
| 1 | Locate the water heater in your travel trailer |
| 2 | Identify the valves that control the water flow to and from the water heater |
| 3 | Adjust the valves to the “bypass” position |
| 4 | Install a water heater bypass kit if your RV doesn’t have a built-in bypass |
Blowing Out Water Lines
After draining your travel trailer’s water system, it’s time to blow out the water lines. This step is crucial to remove any remaining moisture. It prevents damage from freezing temperatures by adding antifreeze to the system.
Start by connecting an air compressor to the city water inlet on your RV. Then, open each faucet one by one, from the farthest to the nearest. Keep blowing air until no water comes out. This clears the water from your plumbing, making your how to winterize travel trailer ready for the next step.
| Step | Action |
|---|---|
| 1 | Connect an air compressor to the city water inlet on your travel trailer |
| 2 | Open each faucet one by one, starting with the ones furthest from the inlet |
| 3 | Allow the air to flow through the lines until no more water comes out |
Properly winterizing rv water lines prepares your plumbing for winter. It gives you peace of mind and protects your investment. Your travel trailer will be ready for the cold weather.
Adding Antifreeze to the System
First, drain the water system and bypass the water heater. Then, add non-toxic RV antifreeze to protect your travel trailer’s plumbing from freezing. You can add the antifreeze in two ways:
Using a Pump Conversion Kit
A pump conversion kit lets you connect the antifreeze to your RV’s water pump. This makes sure the antifreeze reaches every pipe, faucet, and fixture. It gives full protection to your plumbing.
Using the Water Pump Inlet
You can also attach the antifreeze line to the water pump inlet. Slowly open each faucet, shower, and toilet until you see the pink RV antifreeze flowing. This method also makes sure your plumbing is fully winterized.
Choose your method and be thorough. Protecting your RV’s plumbing is key to avoiding damage in winter. It saves you from costly repairs later.
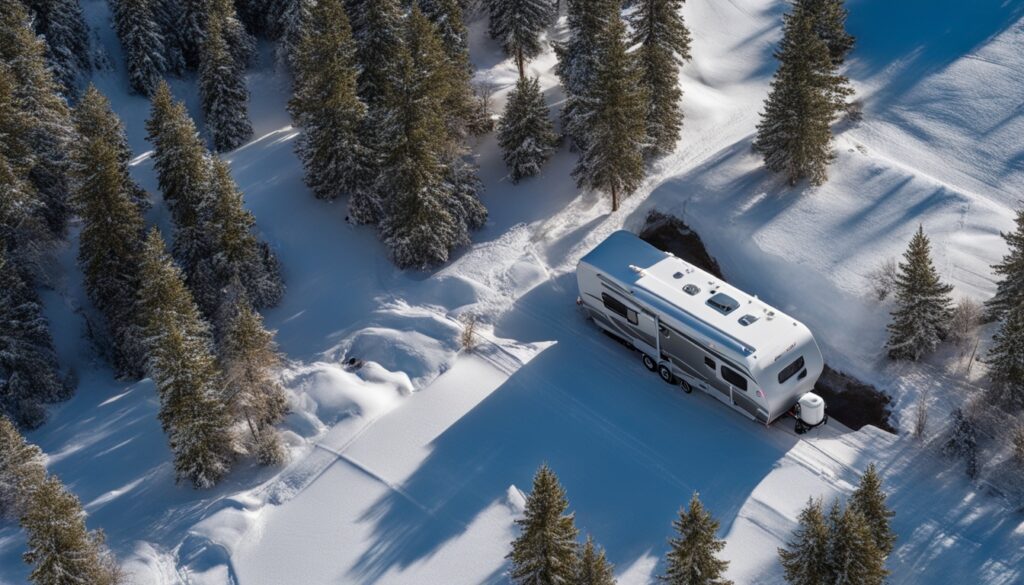
Winterizing Fixtures and Appliances
Getting your travel trailer ready for winter isn’t just about the plumbing. You must also protect fixtures and appliances from freeze damage. This means taking steps to safeguard faucets, showers, toilets, and water-based accessories like ice makers or washing machines.
Faucets, Showers, and Toilets
To keep your fixtures safe, add a bit of RV antifreeze down each drain. This includes sinks, showers, and toilets. It stops water from freezing and causing damage. Don’t forget to flush the toilet a few times to spread the antifreeze around.
Ice Makers and Washing Machines
For ice makers and washing machines, you need to do more. Winterize rv appliances by turning off the water supply and draining the lines. Then, add antifreeze to the ice maker system. With washing machines, run a cycle using RV antifreeze to protect the parts inside.
By taking these steps, you make sure your travel trailer is safe in cold weather. This way, you avoid expensive repairs in the spring. Spending time to winterize your travel trailer means peace of mind and fewer problems later.
| Fixture/Appliance | Winterization Steps |
|---|---|
| Faucets, Showers, Toilets | Pour RV antifreeze down drains |
| Ice Makers | Turn off water supply, drain lines, add antifreeze |
| Washing Machines | Run wash cycle with RV antifreeze |
how to winterize travel trailer
Winterizing your travel trailer is key to keeping it safe from winter’s cold. A detailed checklist can help make sure your RV is ready for the cold. It also prepares it for your next trip in spring. Let’s look at the main steps to winterize your travel trailer.
Draining the Water System
First, drain the entire water system. This means:
- Draining the fresh water tank
- Draining the low-point drains
- Draining the water heater
Bypassing the Water Heater
To stop the water heater from freezing, you must bypass it. Do this by opening the bypass valves or taking out the connections.
Blowing Out the Water Lines
Next, use an air compressor to clear out any water left in the lines. This makes sure there’s no moisture in the system.
Adding Antifreeze
After draining the water, add RV antifreeze to the plumbing. You can use a pump conversion kit or pour it directly into the water pump inlet.
Protecting Fixtures and Appliances
Lastly, protect your fixtures and appliances like faucets, showers, toilets, ice makers, and washing machines. This keeps them safe from freezing.
These steps will help winterize your travel trailer well. Make sure to check your RV’s winterization guide and manual for any special instructions.
| Step | Description |
|---|---|
| 1. Drain Water System | Drain the fresh water tank, low-point drains, and water heater. |
| 2. Bypass Water Heater | Open the bypass valves or remove the water heater inlet and outlet connections. |
| 3. Blow Out Water Lines | Use an air compressor to blow out any remaining water from the water lines. |
| 4. Add Antifreeze | Pour non-toxic RV antifreeze into the plumbing system using a pump conversion kit or the water pump inlet. |
| 5. Winterize Fixtures and Appliances | Protect faucets, showers, toilets, ice makers, and washing machines from freezing. |
Protecting Batteries and Exterior
When winterizing your travel trailer, focus on protecting the batteries and exterior. This ensures your RV stays in great shape all winter, ready for your next trip.
Removing and Storing Batteries
Keeping your travel trailer’s batteries in good shape is key. Start by taking out the batteries and putting them in a dry, warm spot. This stops them from losing charge and makes sure they’re ready to go when you are.
Don’t forget to clean the battery terminals before you store them. This keeps them working well.
Covering and Stabilizing the RV
Keeping your travel trailer’s outside safe from the weather is important too. Think about getting a good cover to shield it from snow, rain, and wind. Also, make sure your trailer is level and the tires are full of air.
This stops the tires from wearing down unevenly and keeps your trailer safe in the cold.
| Winterizing Tip | Description |
|---|---|
| RV Winter Storage Tips | Properly store your travel trailer’s batteries and cover the exterior to protect it from winter weather. |
| Insulating Travel Trailer for Winter | Stabilize your RV and ensure it’s properly covered to prevent damage from cold temperatures and inclement conditions. |
| Preparing Camper for Winter | Take the necessary steps to winterize your travel trailer, including removing and storing the batteries and covering the exterior. |
By doing these important steps, you can be sure your travel trailer is ready for winter. With the batteries safe and the outside protected, your RV will be ready to go when spring comes.
Conclusion
Winterizing your travel trailer is key to getting your RV ready for cold weather. This guide shows you easy steps to protect your investment. It ensures your trailer is set for your next trip when it gets warmer.
Start by gathering the right tools and supplies. Then, drain the water system and bypass the water heater. Don’t forget to add antifreeze and protect the batteries and exterior. With some effort, your travel trailer will be safe and cozy for winter.
If you’re new to RVs or have been around for a while, learning how to winterize your trailer is crucial. Mastering how to winterize travel trailer, rv winterization checklist, and protecting rv in cold weather skills is key. Proper winterization means more years of fun RV trips without worries.


